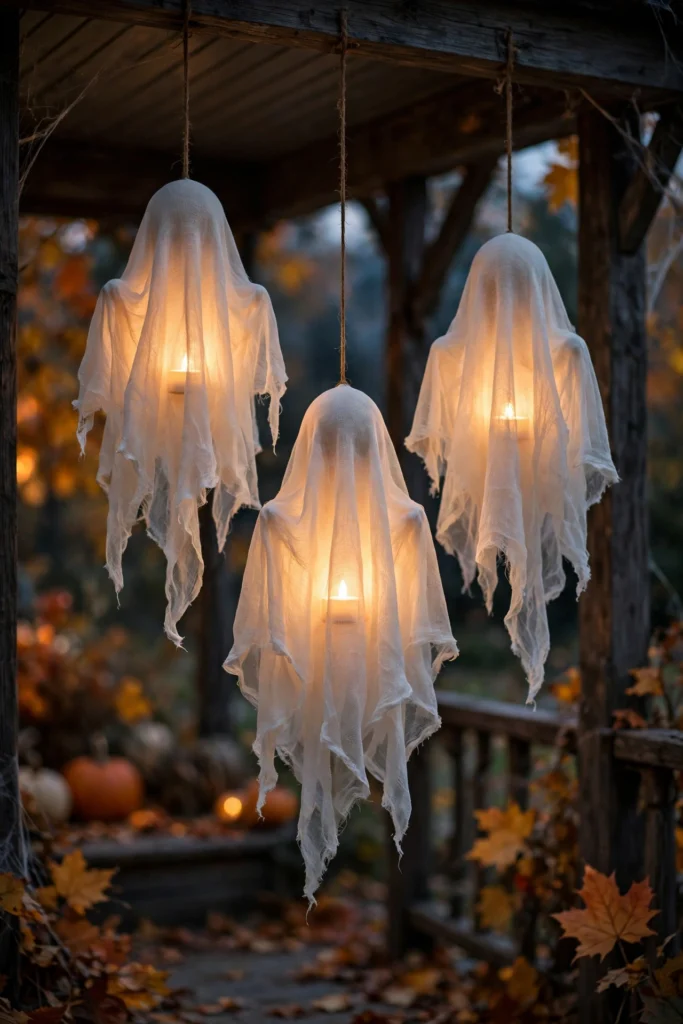
Of all the Halloween decorations you can make, ghosts give you the most spook for the least money. A ghost is essentially a white shape with a face — which means cheesecloth, old sheets, paper bags and milk jugs all become decorations with about twenty minutes of work. No crafting talent required, no expensive supplies, and the results photograph beautifully for Pinterest (which is rather the point).
Below are ten DIY ghost decorations ranked roughly by effort, from five-minute kids’ crafts to the one showstopper that will make neighbours slow down. Most cost under $5 in new materials — and several cost nothing at all if you raid the recycling and the linen cupboard first.
The ghost-maker’s basic kit
You don’t need all of this, but nearly every idea below uses something from this list:
- Cheesecloth or gauze fabric (the classic ghost material)
- White balloons, various sizes
- Fabric stiffener or liquid starch (keeps cheesecloth ghosts upright)
- LED tea lights or a short string of warm-white fairy lights — never real candles inside fabric or paper
- Fishing line or clear thread for hanging
- Black felt or a thick black marker for faces
- White tissue paper, paper bags, and old white pillowcases or sheets
- Mason jars or glass vases
[PRODUCT SLOT — user adds Amazon links: cheesecloth roll, fabric stiffener spray, LED tea lights set]
One rule before you start: ghosts look best in odd-numbered groups of three or five, hung or placed at slightly different heights. A single ghost reads as a craft project; a cluster reads as a haunting.
1. Classic cheesecloth ghosts (the icon)
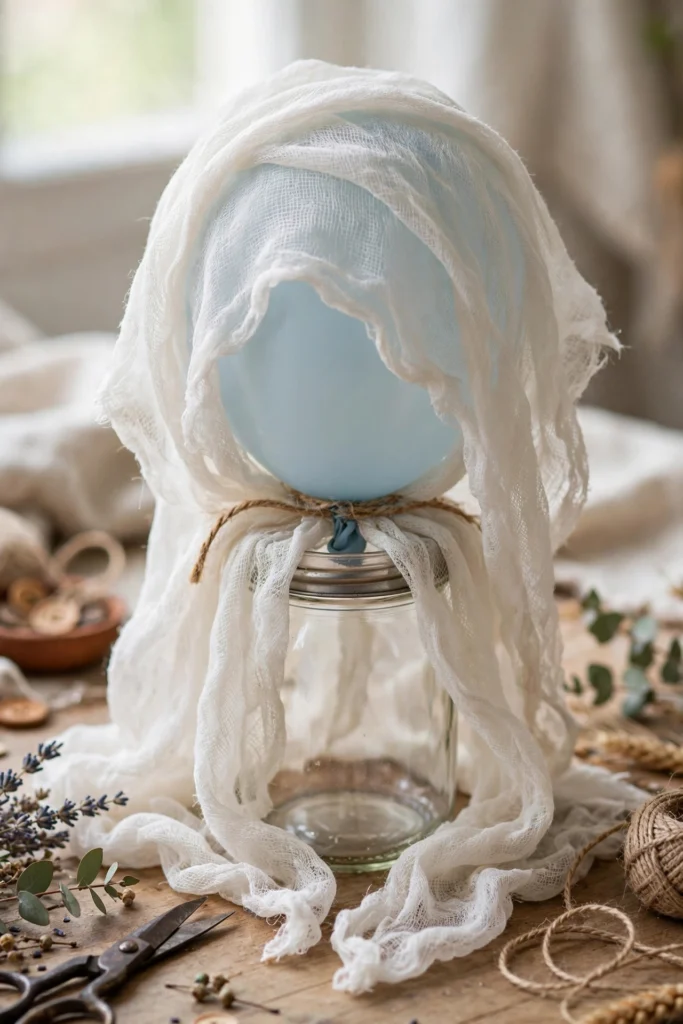
This is the ghost decoration everyone pictures, and it genuinely takes twenty minutes plus drying time. Inflate a balloon, stand it on a jar or bottle so it sits a few inches above your work surface, and drape two layers of cheesecloth over it so the fabric puddles into a flowing “skirt”. Spray generously with fabric stiffener, shape a few folds with your fingers, and leave it overnight. Pop the balloon, lift the ghost off, and add felt eyes.
Make it better: hang three of them at staggered heights from a porch beam or tree branch with fishing line, and tuck a single LED tea light inside each after dark. They sway in the breeze, which sells the illusion completely.
2. Floating milk-jug ghosts
Save your empty gallon milk jugs. Draw a ghost face on each with a black marker, drop an LED tea light or a short glow stick inside, and line them along your garden path or driveway. By night they glow like a row of little spirits guiding visitors to your door — and the whole thing costs whatever your marker cost.
Make it better: stake them with a bamboo skewer through the handle so they don’t wander off in the wind, and cluster them in threes rather than spacing them evenly like runway lights.
3. Glowing ghost lanterns
Wrap a mason jar loosely in a single layer of cheesecloth or white tissue, secure it with twine at the neck, and draw or stick on a face. Drop in a few fairy lights or an LED candle. These work indoors on windowsills, bookshelves and — yes — along a Halloween mantel, where they sit beautifully among pumpkins and candles (see our Halloween mantel decor ideas for the full styling).
[PRODUCT SLOT — user adds Amazon links: mason jars set of 12, warm-white fairy lights copper wire]
4. Tissue-paper ghost garland
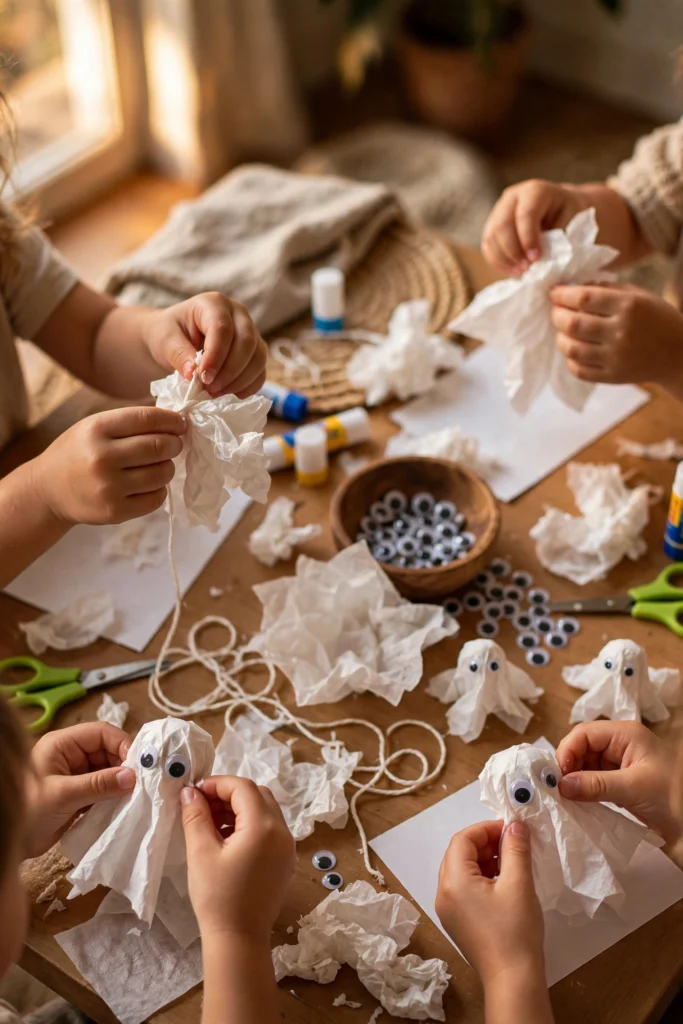
Cut white tissue paper into large circles, scrunch each over a cotton ball, tie off the “head” with white string, and draw a face. String a dozen along a length of twine and hang it across a mantel, doorway or staircase banister. It takes about fifteen minutes, costs almost nothing, and kids can make their own section.
Make it better: alternate the ghosts with small orange pom-poms or paper bats so the garland reads Halloween rather than “wedding that went wrong”.
5. Chicken-wire garden ghosts (the showstopper)
This is the one neighbours photograph. Form a rough ghost shape — head, shoulders, flowing base — from chicken wire or garden mesh, then drape white fabric or a cheap white sheet over it. The wire holds the shape while the fabric gives it that ethereal, wind-caught look. Stake it into the lawn with the wire legs, and uplight it after dark with a small solar spotlight.
Fair warning: this is the only idea on the list that takes an afternoon rather than minutes. It is also the only one people will remember in November.
6. Paper-bag ghost windsocks (kids’ favourite)
Turn a white paper lunch bag upside down, draw a face near the closed end, and tape white crepe-paper streamers around the open end. Hang them from a porch ceiling or tree branch. They need five minutes each, they survive being made by a six-year-old, and a whole row of them bobbing in the breeze is genuinely charming.
7. Tomato-cage sheet ghosts (front-yard classic)
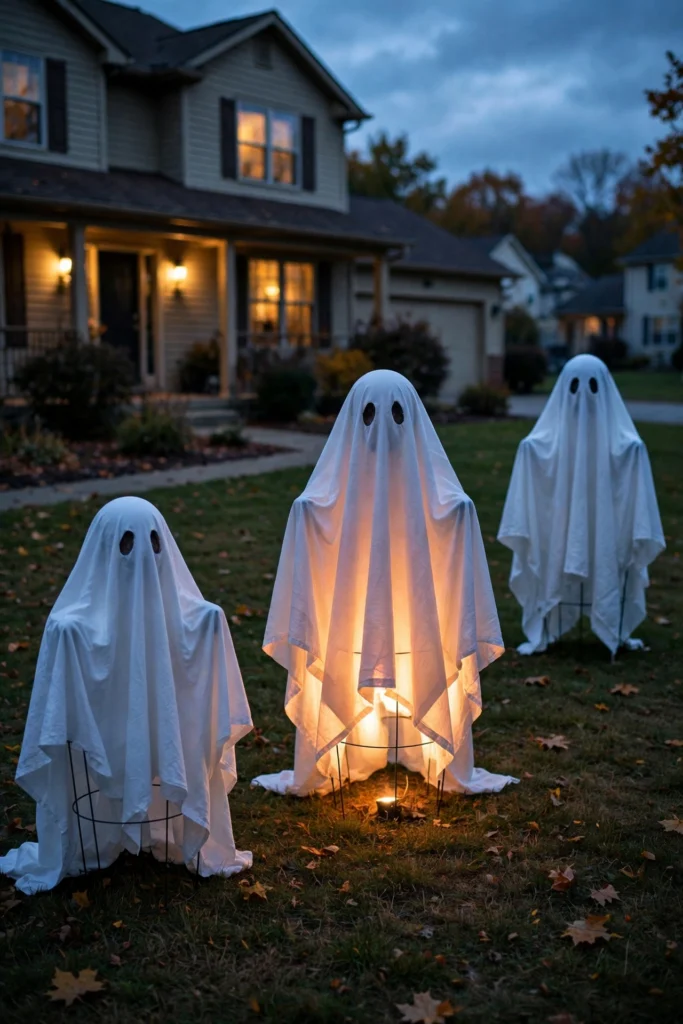
Put a tomato cage upside down on your lawn (wide end up), drop a foam ball or beach ball on top for the head, and drape an old white sheet or tablecloth over the whole thing. Add felt eyes. From the street it reads as a proper floating apparition, especially backlit at night. Three of them at different cage heights make an excellent front-yard scene for the cost of one bag of felt.
[PRODUCT SLOT — user adds Amazon links: black adhesive felt sheets, solar spotlights outdoor 2-pack]
8. Ghost luminaries from paper bags
Fold the top of a white paper bag down a couple of inches for stability, cut or draw a simple ghost face on the front, drop in an LED tea light, and line them along steps, walls or the edge of the drive. They give that classic luminary glow with a Halloween twist. Keep them off dry leaves and away from anything flammable — even LED versions sit better on stone or concrete.
9. Floating ghost balloons (indoor party trick)
Inflate white balloons, draw faces with a thick marker, and tie them to weights with long ribbons — then let the ribbons go long so the “ghosts” hover near the ceiling. A hallway full of hovering ghost balloons is the cheapest party decoration on this list and takes about ten minutes for twenty balloons.
Make it better: write guests’ names on the balloons in silver marker and they double as place markers for a Halloween dinner.
10. Thrift-store ghost paintings (the viral one)
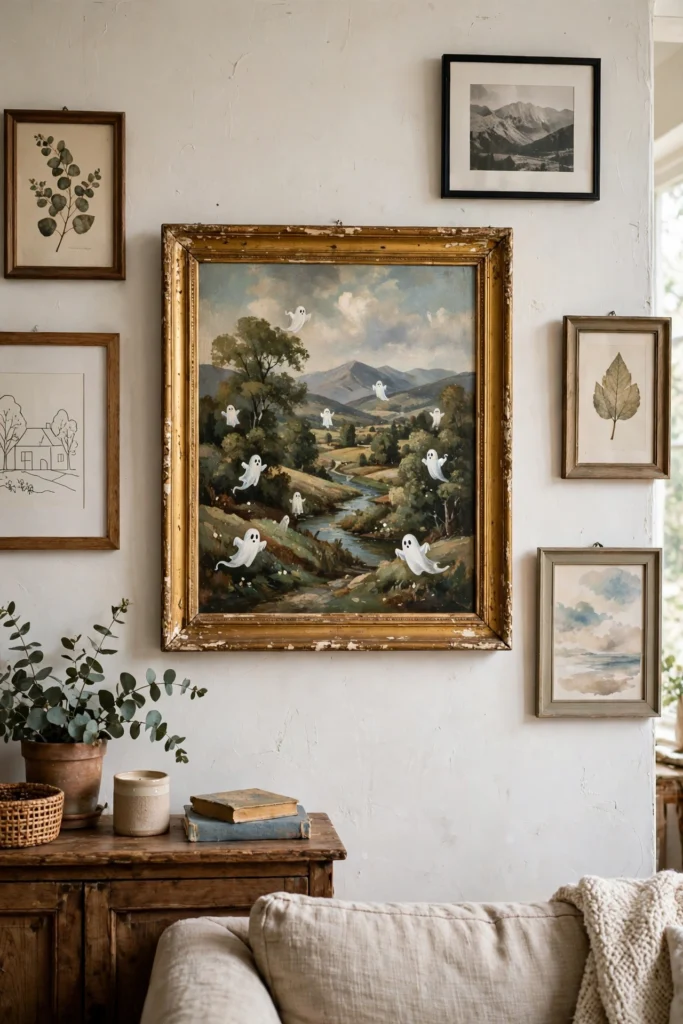
You’ve seen these: buy a dull landscape print from a charity shop and paint little white sheet-ghosts into the scene. It works because the contrast is funny — a serious landscape with a tiny ghost photobombing the hillside. All you need is the print, white acrylic paint and a fine brush. Hang it among your regular art and wait for someone to notice.
Styling rules: where ghosts work best
- Porches and entryways: ghosts are greeters. Cluster them where visitors arrive — around the door, along the path, hanging from the porch ceiling.
- Mantels: the tissue garland (idea #4) and ghost lanterns (idea #3) are made for mantel styling. Layer them with pumpkins and candles using the five styling rules in our Halloween mantel decor guide.
- Hallways and staircases: a garland along a banister or a few hovering balloons turn a boring corridor into a haunted one.
- The garden at night: chicken-wire ghosts and milk-jug path markers earn their keep after dark. Uplighting is what separates “craft project” from “haunted house”.
Weatherproofing and safety
Cheesecloth ghosts survive light rain once stiffened, but bring fabric ghosts in during heavy storms — wet stiffener goes limp. Paper-bag luminaries and windsocks are fair-weather only; treat them as disposable and remake as needed. And the safety rule that matters: LED lights only inside anything fabric, paper or plastic. Real candles and DIY ghosts are a combination to avoid entirely.
Quick answers: DIY ghost decoration FAQs
How do you make cheesecloth ghosts stiff?
Drape the cheesecloth over your form and spray it thoroughly with fabric stiffener or liquid starch, shaping folds with your fingers as you go. Two light coats beat one heavy one. Leave it to dry overnight before removing the form.
How long do DIY ghost decorations last?
Cheesecloth and chicken-wire ghosts last for years if stored dry. Paper and tissue versions are single-season — make them fresh each October, which is half the fun.
Are these safe to make with kids?
Ideas #4, #6 and #9 are ideal for children (no sharp tools, no chemicals). Keep little ones away from the chicken wire in idea #5 and let adults handle any cutting.
What’s the cheapest ghost decoration?
The milk-jug ghosts (idea #2): free if you drink milk, plus a marker and LED tea lights you probably already own.
After Halloween: storage, not landfill
The fabric and wire ghosts fold flat or nest into a box for next year — label the box and thank yourself next October. Compost the paper versions, recycle the milk jugs, and keep the fairy lights and LED tea lights: they’ll reappear in your Christmas decor within weeks.
Your turn
Start with the cheesecloth ghosts tonight — drape, spray, sleep, and wake up to decorations. Then pick one outdoor idea for the weekend. And if you style a mantel around them, save this post: good ghost formulas, like good mantel formulas, don’t expire.